Create own GUI with USBtinLib for testing or simulating CAN bus devices
For testing or simulating CAN bus devices an own GUI is often useful. This page shows step-by-step how to create such an application with USBtinLib, the open source library for
USBtin.
Contents
Setup NetBeans IDE project
- Download, install and start NetBeans IDE (tested with IDE 8.0.2 "All").
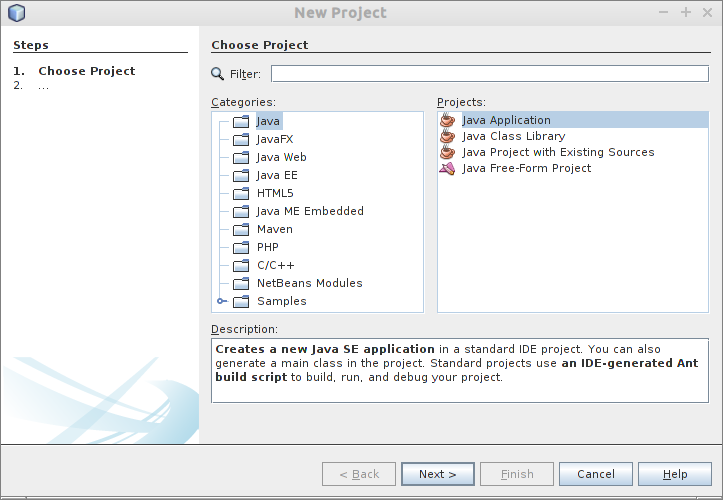
- "File" -> "New Project..."
- Choose Categories "Java" and Projects "Java Application" and click "Next".
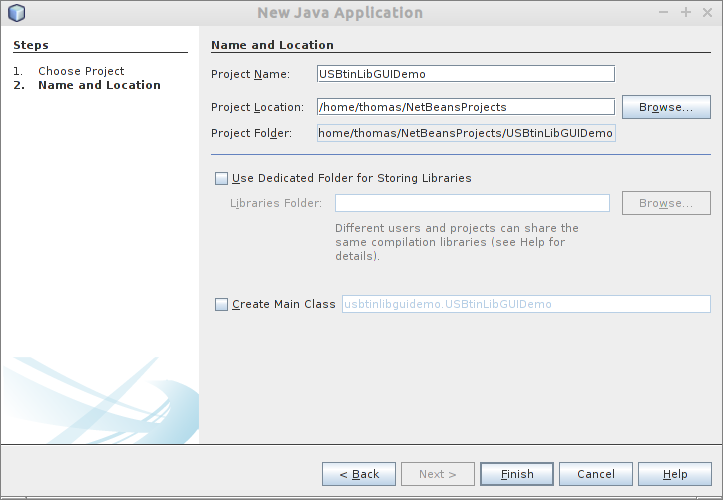
- Set project name and location. Disable checkbox "Create Main Class". Click "Finish".
- Right-click on project, "New" -> "Other..."
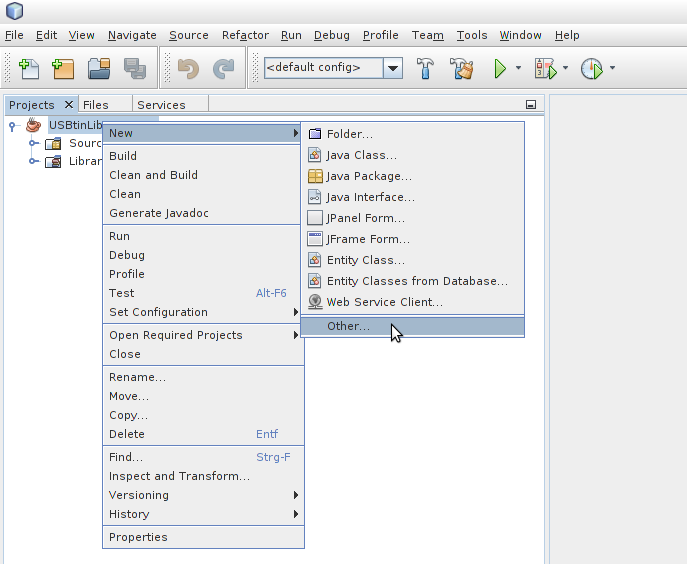
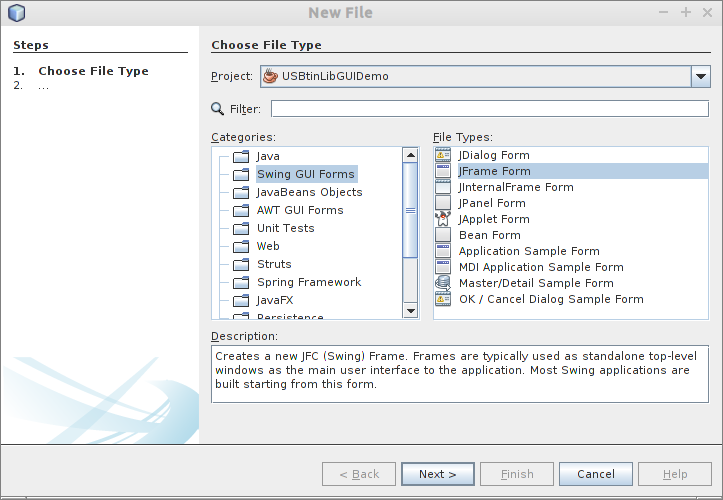
- Select category "Swing GUI Forms" and file type "JFrame Form". Click "Next".
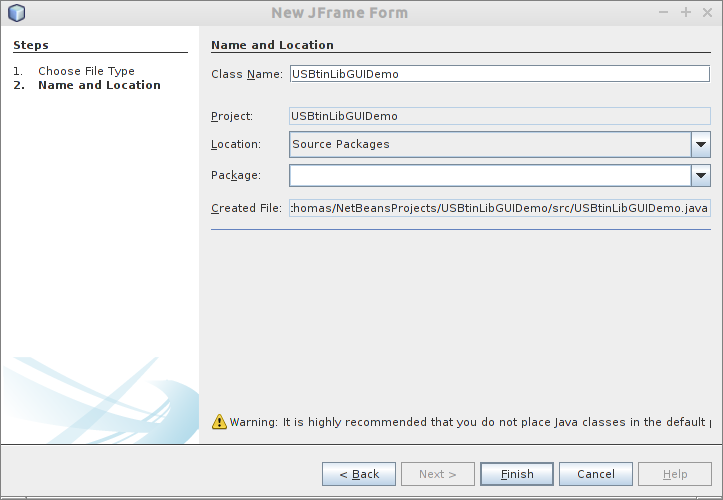
- Input class name. Click "Finish".
- Now, the basic project is setup up and you can test the application with "Run" -> "Run Project" (shows blank frame).
Add libraries (USBtinLib and jSSC) to project
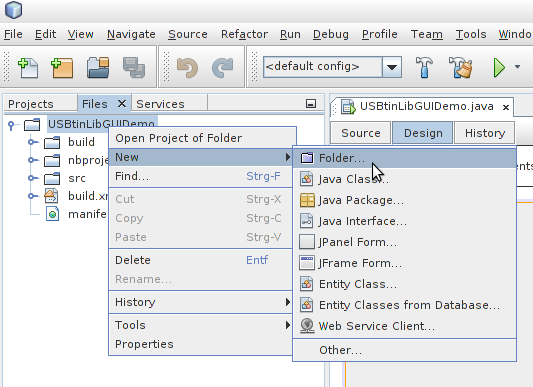
- Create new folder "lib" in file browser tab.
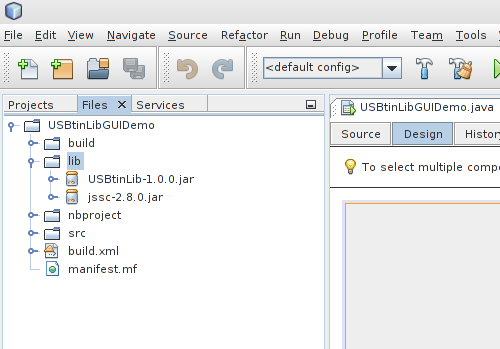
- Download jar file of USBtinLib (direct download link: USBtinLib-1.1.0.jar) and save it to the "lib" folder.
- Download jar file of jSSC (Java Simple Serial Connector) (direct download link: jssc-2.8.0.jar) and save it to the "lib" folder".
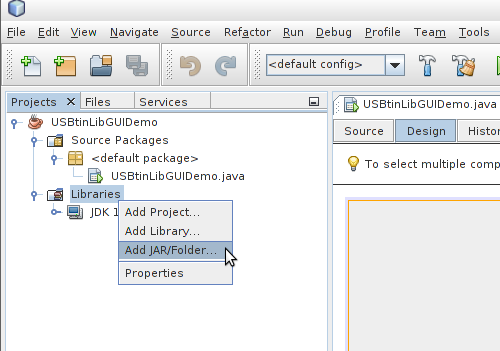
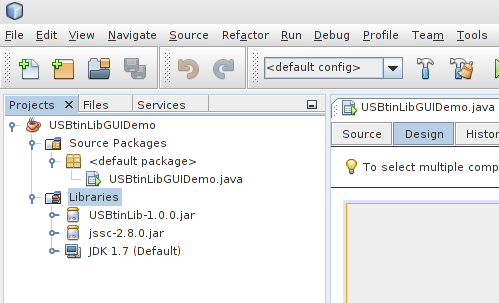
- Add libraries to project: right-click on "Libraries" -> "Add JAR/Folder..." and choose the two jar files.
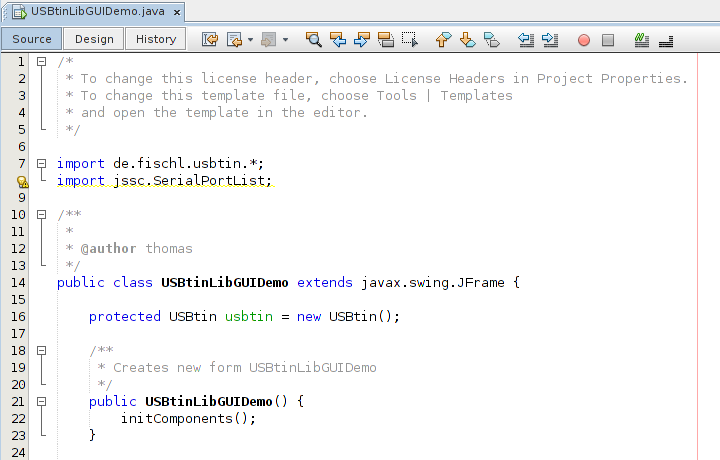
- Add imports to main java class:
import de.fischl.usbtin.*;
import jssc.SerialPortList;
and add member
protected USBtin usbtin = new USBtin();
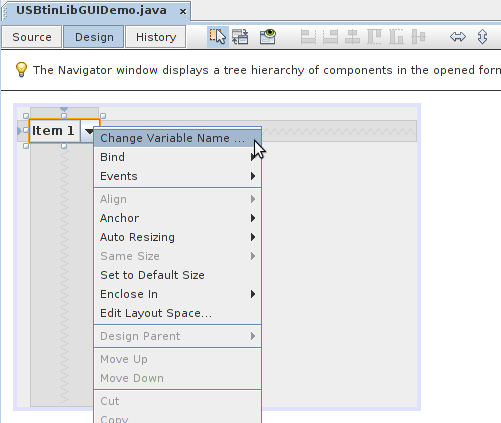
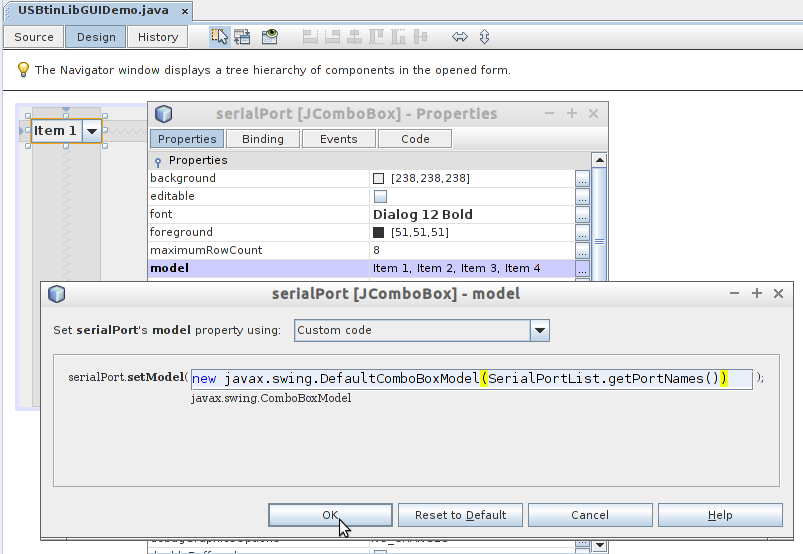
- Open design view of main java class, add a combobox and change its name to "serialPort"
- Right-click on combobox -> "Properties" -> Click on "..." behind "model" text input field. Choose "Custom code" and input
new javax.swing.DefaultComboBoxModel(SerialPortList.getPortNames())
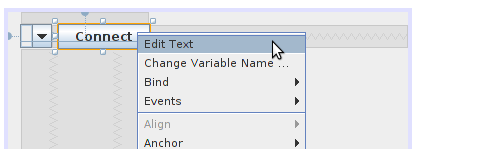
- Add button to design, change variable name to "connectionButton" and set text to "Connect".
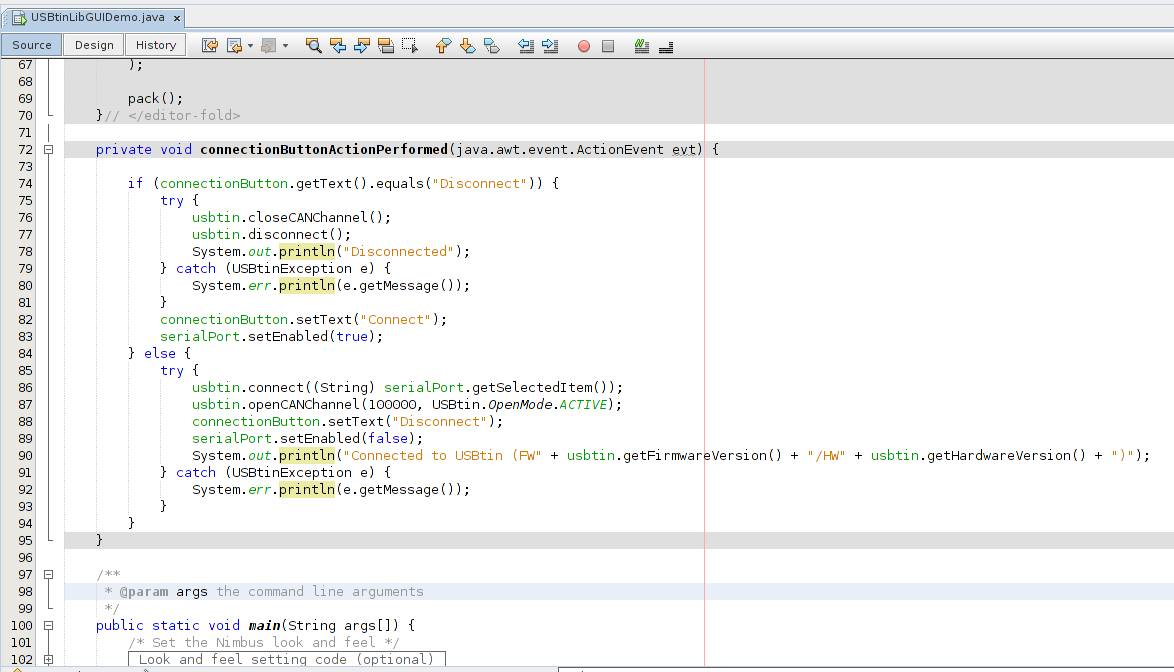
- Double click on button and implement connect/disconnect method (here, the CAN channel opens in ACTIVE mode with 100kBaud):
    private void connectionButtonActionPerformed(java.awt.event.ActionEvent evt) {

        if (connectionButton.getText().equals("Disconnect")) {
            try {
                usbtin.closeCANChannel();
                usbtin.disconnect();
                System.out.println("Disconnected");
            } catch (USBtinException e) {
                System.err.println(e.getMessage());
            }
            connectionButton.setText("Connect");
            serialPort.setEnabled(true);
        } else {
            try {
                usbtin.connect((String) serialPort.getSelectedItem());
                usbtin.openCANChannel(100000, USBtin.OpenMode.ACTIVE);
                connectionButton.setText("Disconnect");
                serialPort.setEnabled(false);
                System.out.println("Connected to USBtin (FW" + usbtin.getFirmwareVersion() +
                                   "/HW" + usbtin.getHardwareVersion() + ")");
            } catch (USBtinException e) {
                System.err.println(e.getMessage());
            }
        }
    }
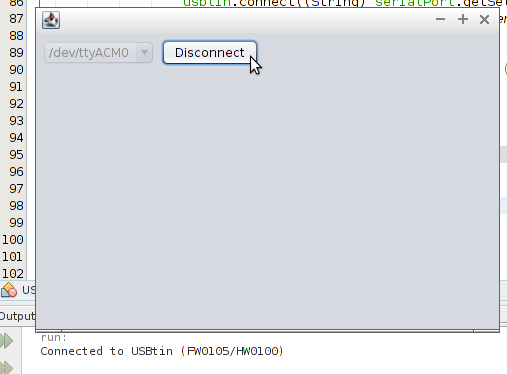
- Time to test the application: plug in USBtin (tested with USBtin EB) and "Run" -> "Run Project". If you click the button, the USBtin led goes on and you can see the USBtin version in the NetBeans output window.
Send a CAN message
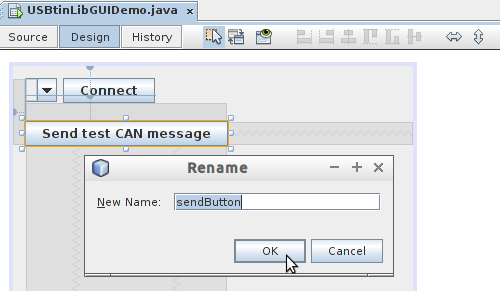
- Add new button, set text and set variable name to "sendButton".
- Double-click on button and implement handler:
    private void sendButtonActionPerformed(java.awt.event.ActionEvent evt) {

        try {
            usbtin.send(new CANMessage(0x100, new byte[]{0x11, 0x22, 0x33}));
        } catch (USBtinException e) {
            System.err.println(e.getMessage());
        }
    }
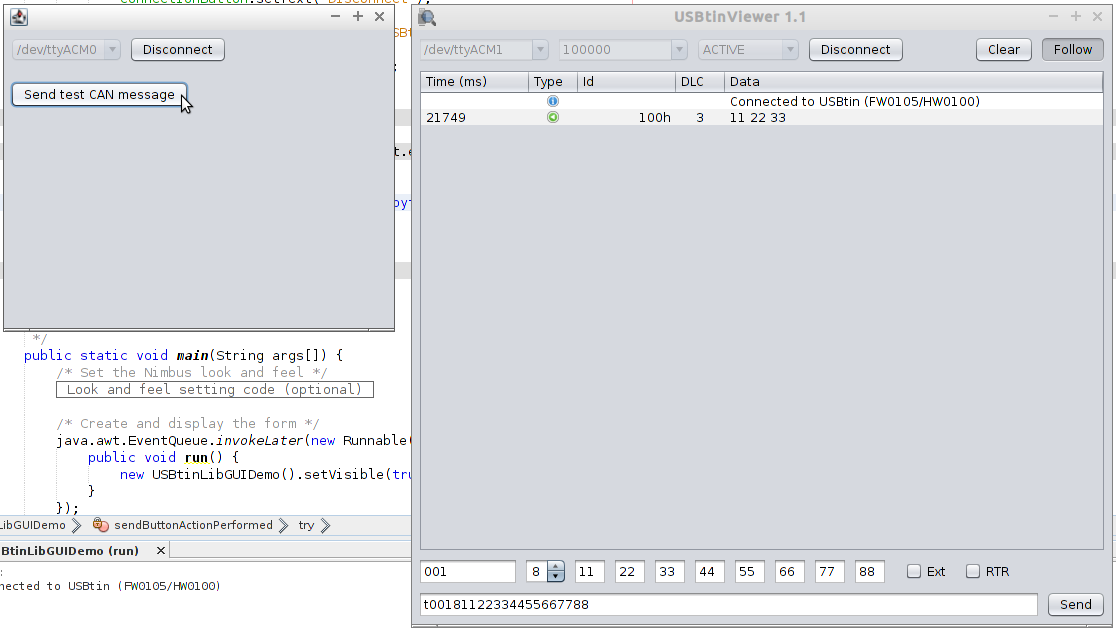
- Run the project an test it. Here a second USBtin EB is connected and opened in USBtinViewer (right window) to see the output of the first USBtin interface:
Receive CAN messages
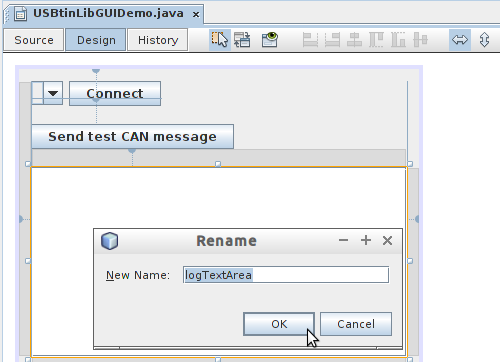
- Add text area and change variable name to "logTextArea".
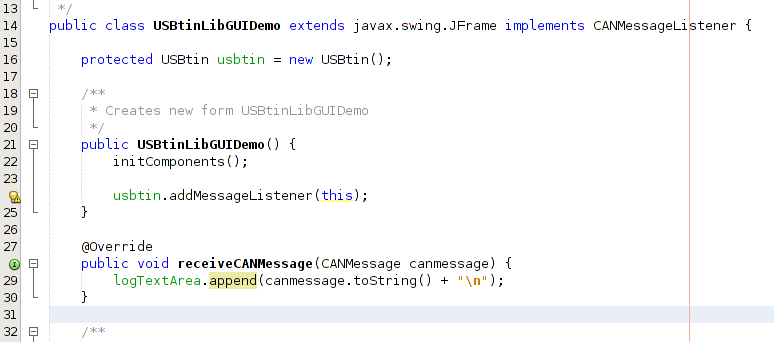
- Switch to code view and add "CANMessageListener" to the class:
public class USBtinLibGUIDemo extends javax.swing.JFrame implements CANMessageListener {
Implement the listener method:
   @Override
    public void receiveCANMessage(CANMessage canmessage) {
        logTextArea.append(canmessage.toString() + "\n");
    }
And finally register the message listener in the constructor:
usbtin.addMessageListener(this);
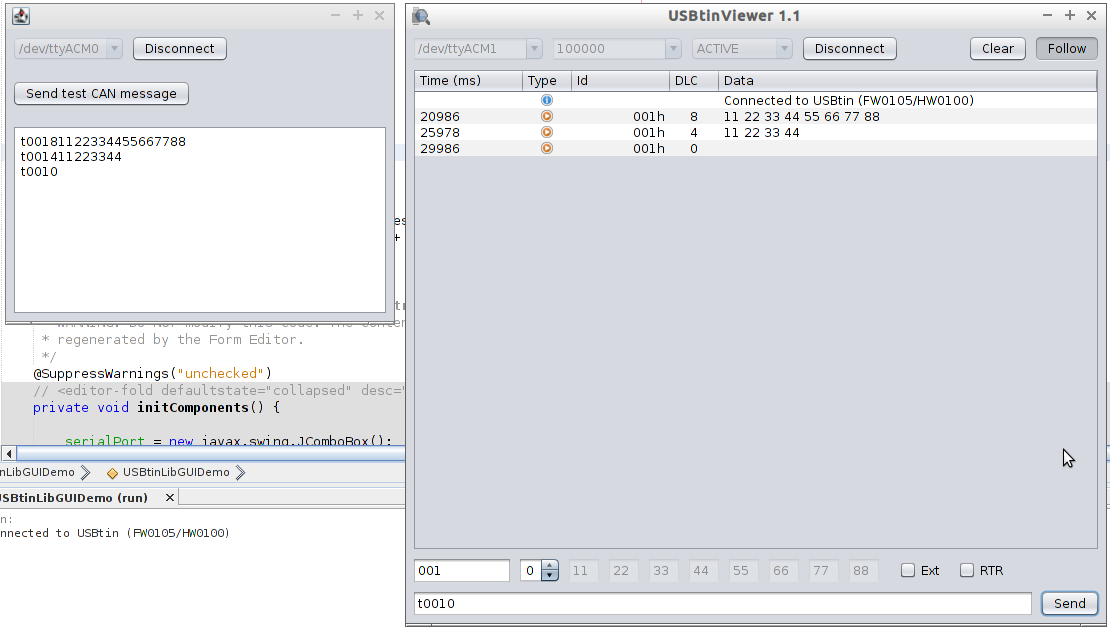
- Run the project an test it. Here a second USBtin EB is connected and opened in USBtinViewer (right window) to send CAN messages to the first USBtin interface:
Add slider which sends CAN messages on change
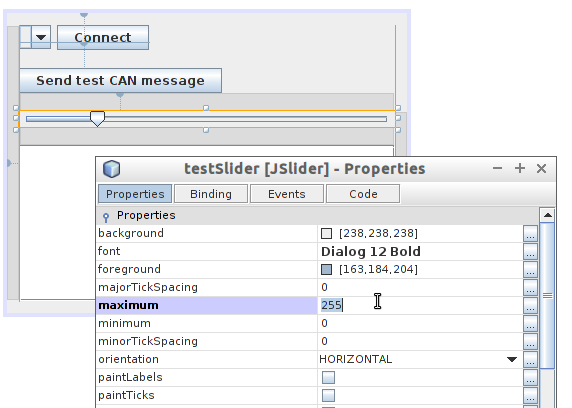
Add slider and change variable name to "testSlider". Set properies for minimum and maximum.
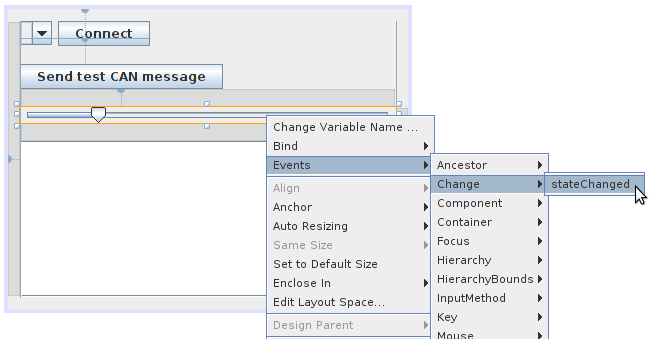
Add "stateChanged" event to slider and implement event method:
    private void testSliderStateChanged(javax.swing.event.ChangeEvent evt) {
        JSlider source = (JSlider)evt.getSource();
        if (!source.getValueIsAdjusting()) {
            try {
                usbtin.send(new CANMessage(0x101, new byte[]{(byte)source.getValue()}));
            } catch (USBtinException e) {
                System.err.println(e.getMessage());
            }
        }
    }
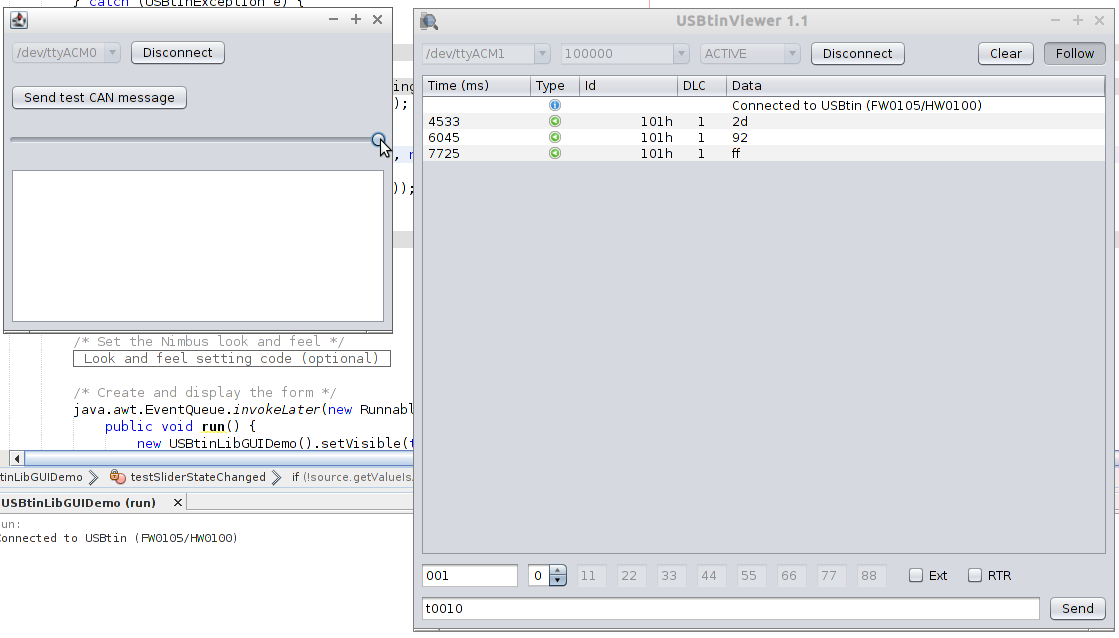
Run the project an test it. Here a second USBtin EB is connected and opened in USBtinViewer (right window) to see the output of the first USBtin interface:
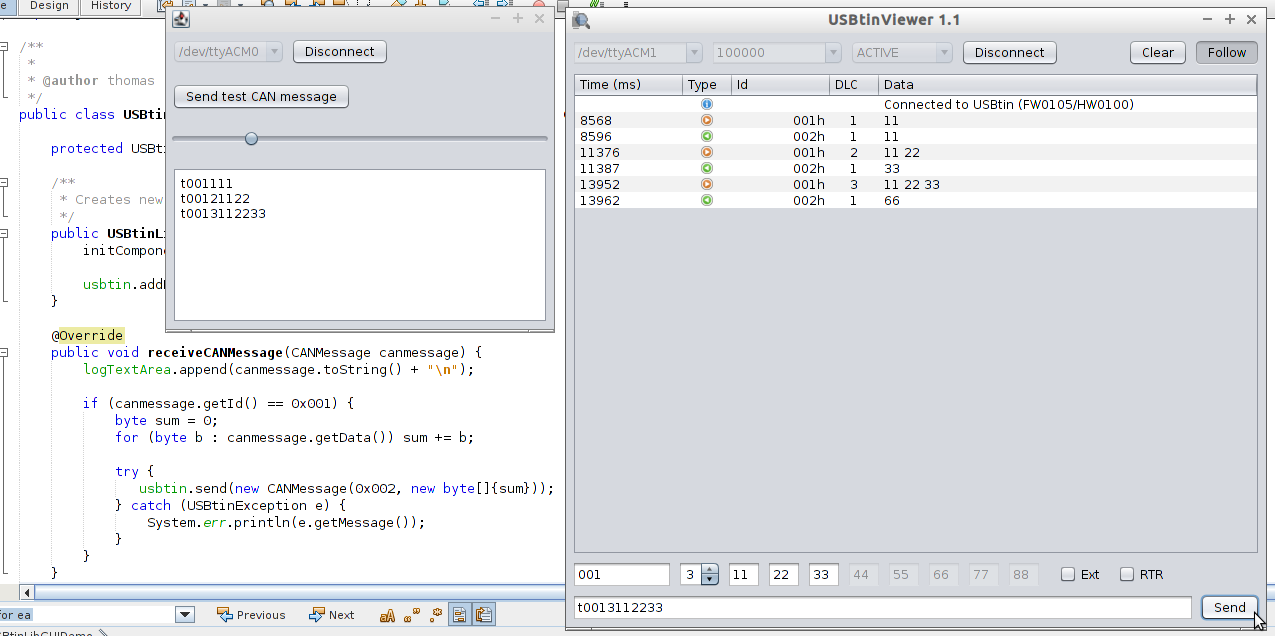
Simulate behavior of a CAN device
Example: we simulate a CAN device which waits for messages with ID 0x001, sums the data bytes and send a CAN message with the sum as payload within ID 0x002.
Extend the listener method (see Receive CAN messages) to simulate our sum-device
    @Override
    public void receiveCANMessage(CANMessage canmessage) {
        logTextArea.append(canmessage.toString() + "\n");

        if (canmessage.getId() == 0x001) {
            byte sum = 0;
            for (byte b : canmessage.getData()) sum += b;

            try {
               usbtin.send(new CANMessage(0x002, new byte[]{sum}));
            } catch (USBtinException e) {
                System.err.println(e.getMessage());
            }
        }
    }
Run the project an test it. Here a second USBtin EB is connected and opened in USBtinViewer (right window) to send messages and see the output of the first USBtin interface: